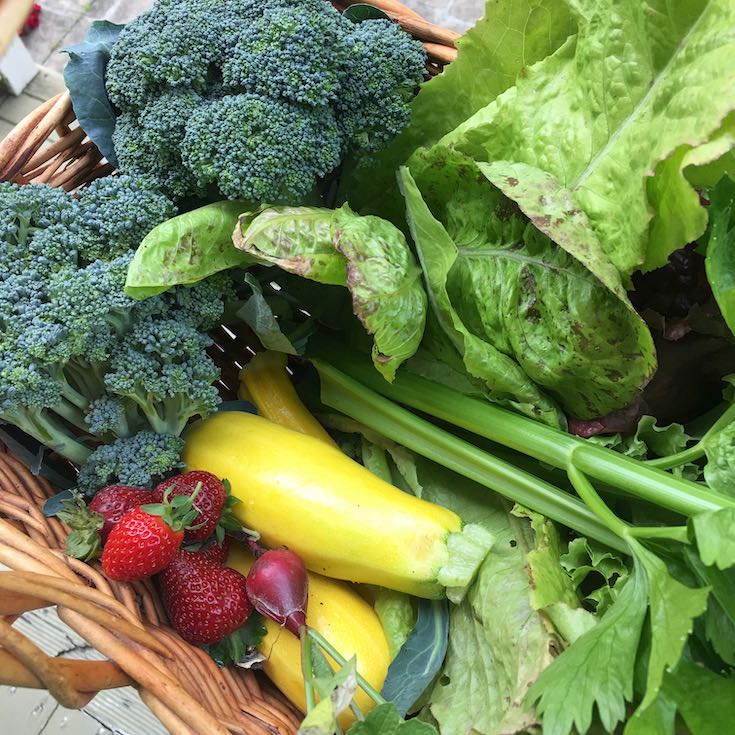
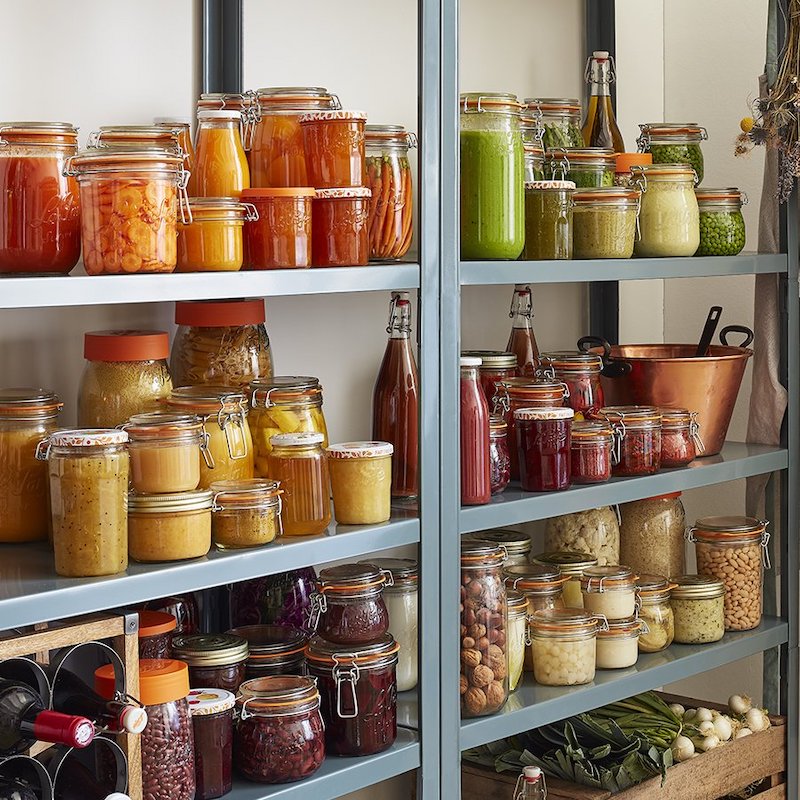
Stewed apples are so easy to make and they are super handy to have in the pantry (or freezer) for breakfast, dessert or snacks. They are a great option for avoiding the plastic packaging on fruit compotes available from the supermarket. Also a delicious accompaniment to roast pork.
If you are new to food preservation, this simple stewed apple recipe is a good option to start with.
I've provided instructions for both water bath canning and freezing, so pick the option you feel most comfortable with.
Note: These instructions have been written using 580 mL Weck Mold jars.
Makes: 4x 500 mL jars.
Ingredients:
3 kg apple
1/2 cup water
4 tablespoons lemon juice
1/2 teaspoon ground cinnamon
1/4 teaspoon ground nutmeg
Equipment:
Method:
Preparing the jars:
Inspect all jars, lids and seals to ensure no chips, splits or cracks. Wash the preserving jars and lids in warm, soapy water. Keep the jars and lids warm until filling with hot stewed apple.
If you are planning to preserve the stewed apple then this is a good time to get a large stock pot half filled with water and heating to a boil.
Cooking the apples:
Take a large stock pot and add the water and lemon juice.
Wash, peel, core and chop the apples in batches - be sure to remove any rotten or mouldy areas. Add the apple to the stock pot in batches and mix the lemon juice and water over the apple to help reduce browning while preparing the rest of the apples.
Place over a medium heat, cover with a lid and cook for approx. 30 mins until the apples are soft (time may vary depending on variety). You may need to add extra water during the cooking - this will depend on the type of apple used. If it starts catching, add extra water. Towards the end of cooking, add the cinnamon and nutmeg and mix through.
At this stage, you can leave your stewed apple chunky or blend it using a freshly cleaned stick blender or potato masher. Continue heating the apple for a few minutes after blending.
For pantry storage (water bath canning option):
Transfer the stewed apple to the jars leaving a 1/2" (~15 mm) gap from the top of the jar. Use a funnel to help keep the rims of the jars clean. Wipe the rim with a clean, lint-free cloth.
Place the rubber ring onto the underside of the lid and then place onto the jar - check that the ring is properly in place. Fix the 2x clips in place per jar and check the positioning of the rubber rings again.
Using a jar lifter, carefully place the jars onto a rack inside the large pot. Ensure there is adequate space for boiling water to circulate around the jars and that the jars have approximately 2 cm of water above them - add more water if needed. Once the water has come back to the boil, heat process for 20 mins.
After this time, turn off the heat, remove the pot lid and wait for 5 min. Carefully remove the jars from the water and place on a folded tea towel somewhere they can be left without touching/moving for the next 12 hours (I have cold granite bench tops so I place a wooden chopping board between the bench and tea towel).
After 12 hours, carefully remove the clips from the jars and check that a seal has formed by holding the jar from the lid. Note, for Weck jars, the tab on each rubber ring will tilt downwards on a well sealed jar. Label the jars.
If any of your jars do not seal, you can heat process them again but I'd recommend you either freeze those jars or place in the fridge and use within a few days.
For freezer storage:
If you plan to freeze, transfer the stewed apple to your jars leaving a 1/2" (~15 mm) gap at the top to allow for expansion. Seal using either the rubber ring, glass lid and clamps or use a Keep Fresh lid. Label and place in the freezer in an upright position.
Recipe notes:


Comments will be approved before showing up.